Hint: This guide works if you have a Cloud Server with IONOS. If you have a dedicated server, you will need to boot into Windows or Debian rescue instead.
If your server is not booting or responding locally, or if you just want a clean method to copy data off of your server, you may be interested in recovering data from your Cloud Server. Follow along!
This guide works for Windows and Linux IONOS Cloud Servers.
- Login to your IONOS control panel and go to Menu > Servers & Cloud. Choose the applicable server if you have more than one server contract. This brings you to your Cloud Panel.
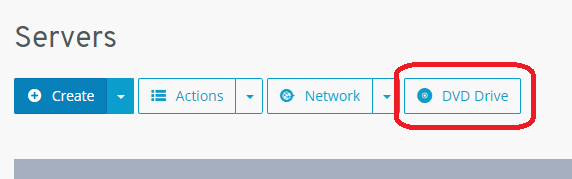
- In the Cloud Panel, click on your server under Infrastructure > Servers, then click the DVD Drive button above.
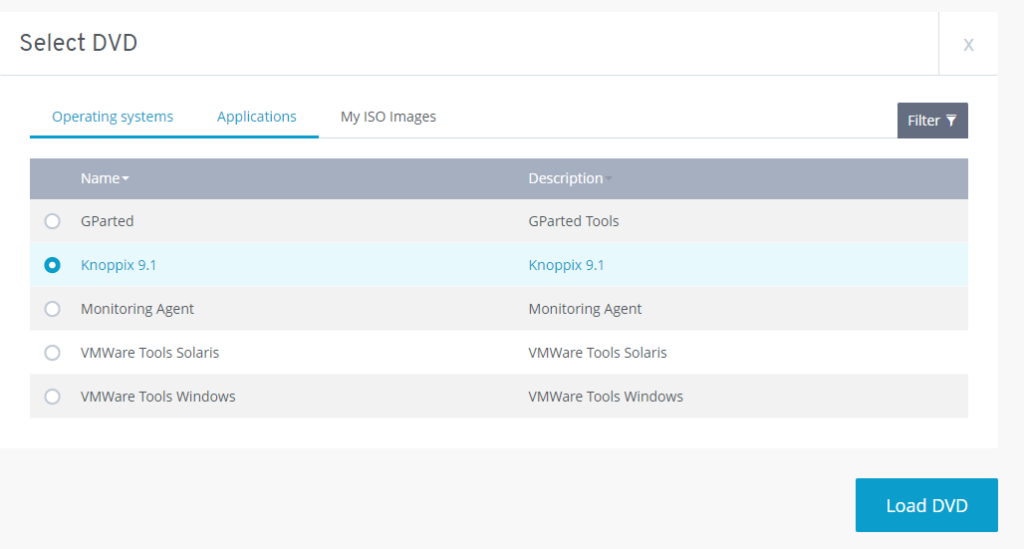
- In the Applications tab, choose the Knoppix DVD, and click Load DVD.
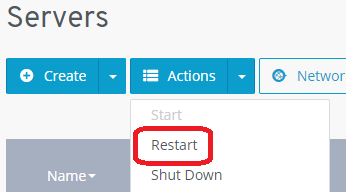
- Restart the server (Actions > Restart). Choose Software method if given an option.
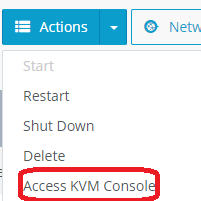
- Access the server via the KVM console (Actions > Access KVM console).
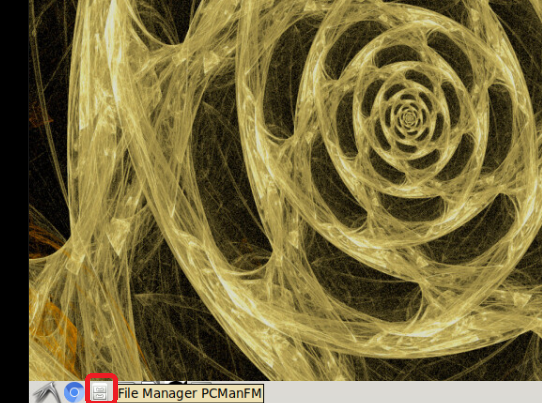
- Open the File Manager from icon in the taskbar.
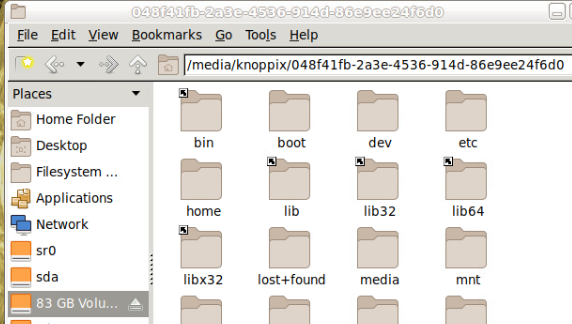
- Click on your server’s local volume on the left (should be the larger volume). Take note of the location of where the data is mounted. In this example, it’s mounted in /media/knoppix/.
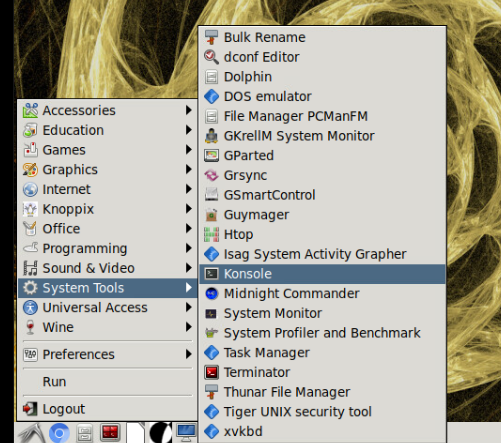
- Open a terminal (menu > System Tools > Konsole).
- Run these commands to login as root and then set the Knoppix root password:
supasswd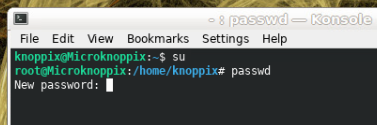
- Run this command to start SSH/SFTP:
/etc/init.d/ssh start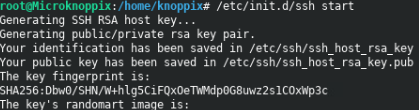
- Now you can connect to your server using an SFTP client (such as FileZilla) to copy all of the data to your local PC. It will be located in the folder that you noted in the File Manager step above.
- Host/server: The IP address of your server
- Username: root
- Password: the password you’ve set in the previous step
- Port: 22
You can also use these same credentials to connect to the server via SSH to perform administrative tasks.
It is always mandatory to create a backup before making any changes to any server. If you do not have a backup: Purchase the IONOS Cloud Backup, follow the installation instructions, and complete a manual backup (video).